
Reviving Style: Transforming an Old Sweater into a Fitted Masterpiece with a Knitting Machine (part 1 - UNRAVELING)

Clicking the affiliate link helps access a great product and supports my work. If you purchase through the link, I may earn a commission at no extra cost to you, enabling me to create more valuable content. Thanks for being part of this journey!
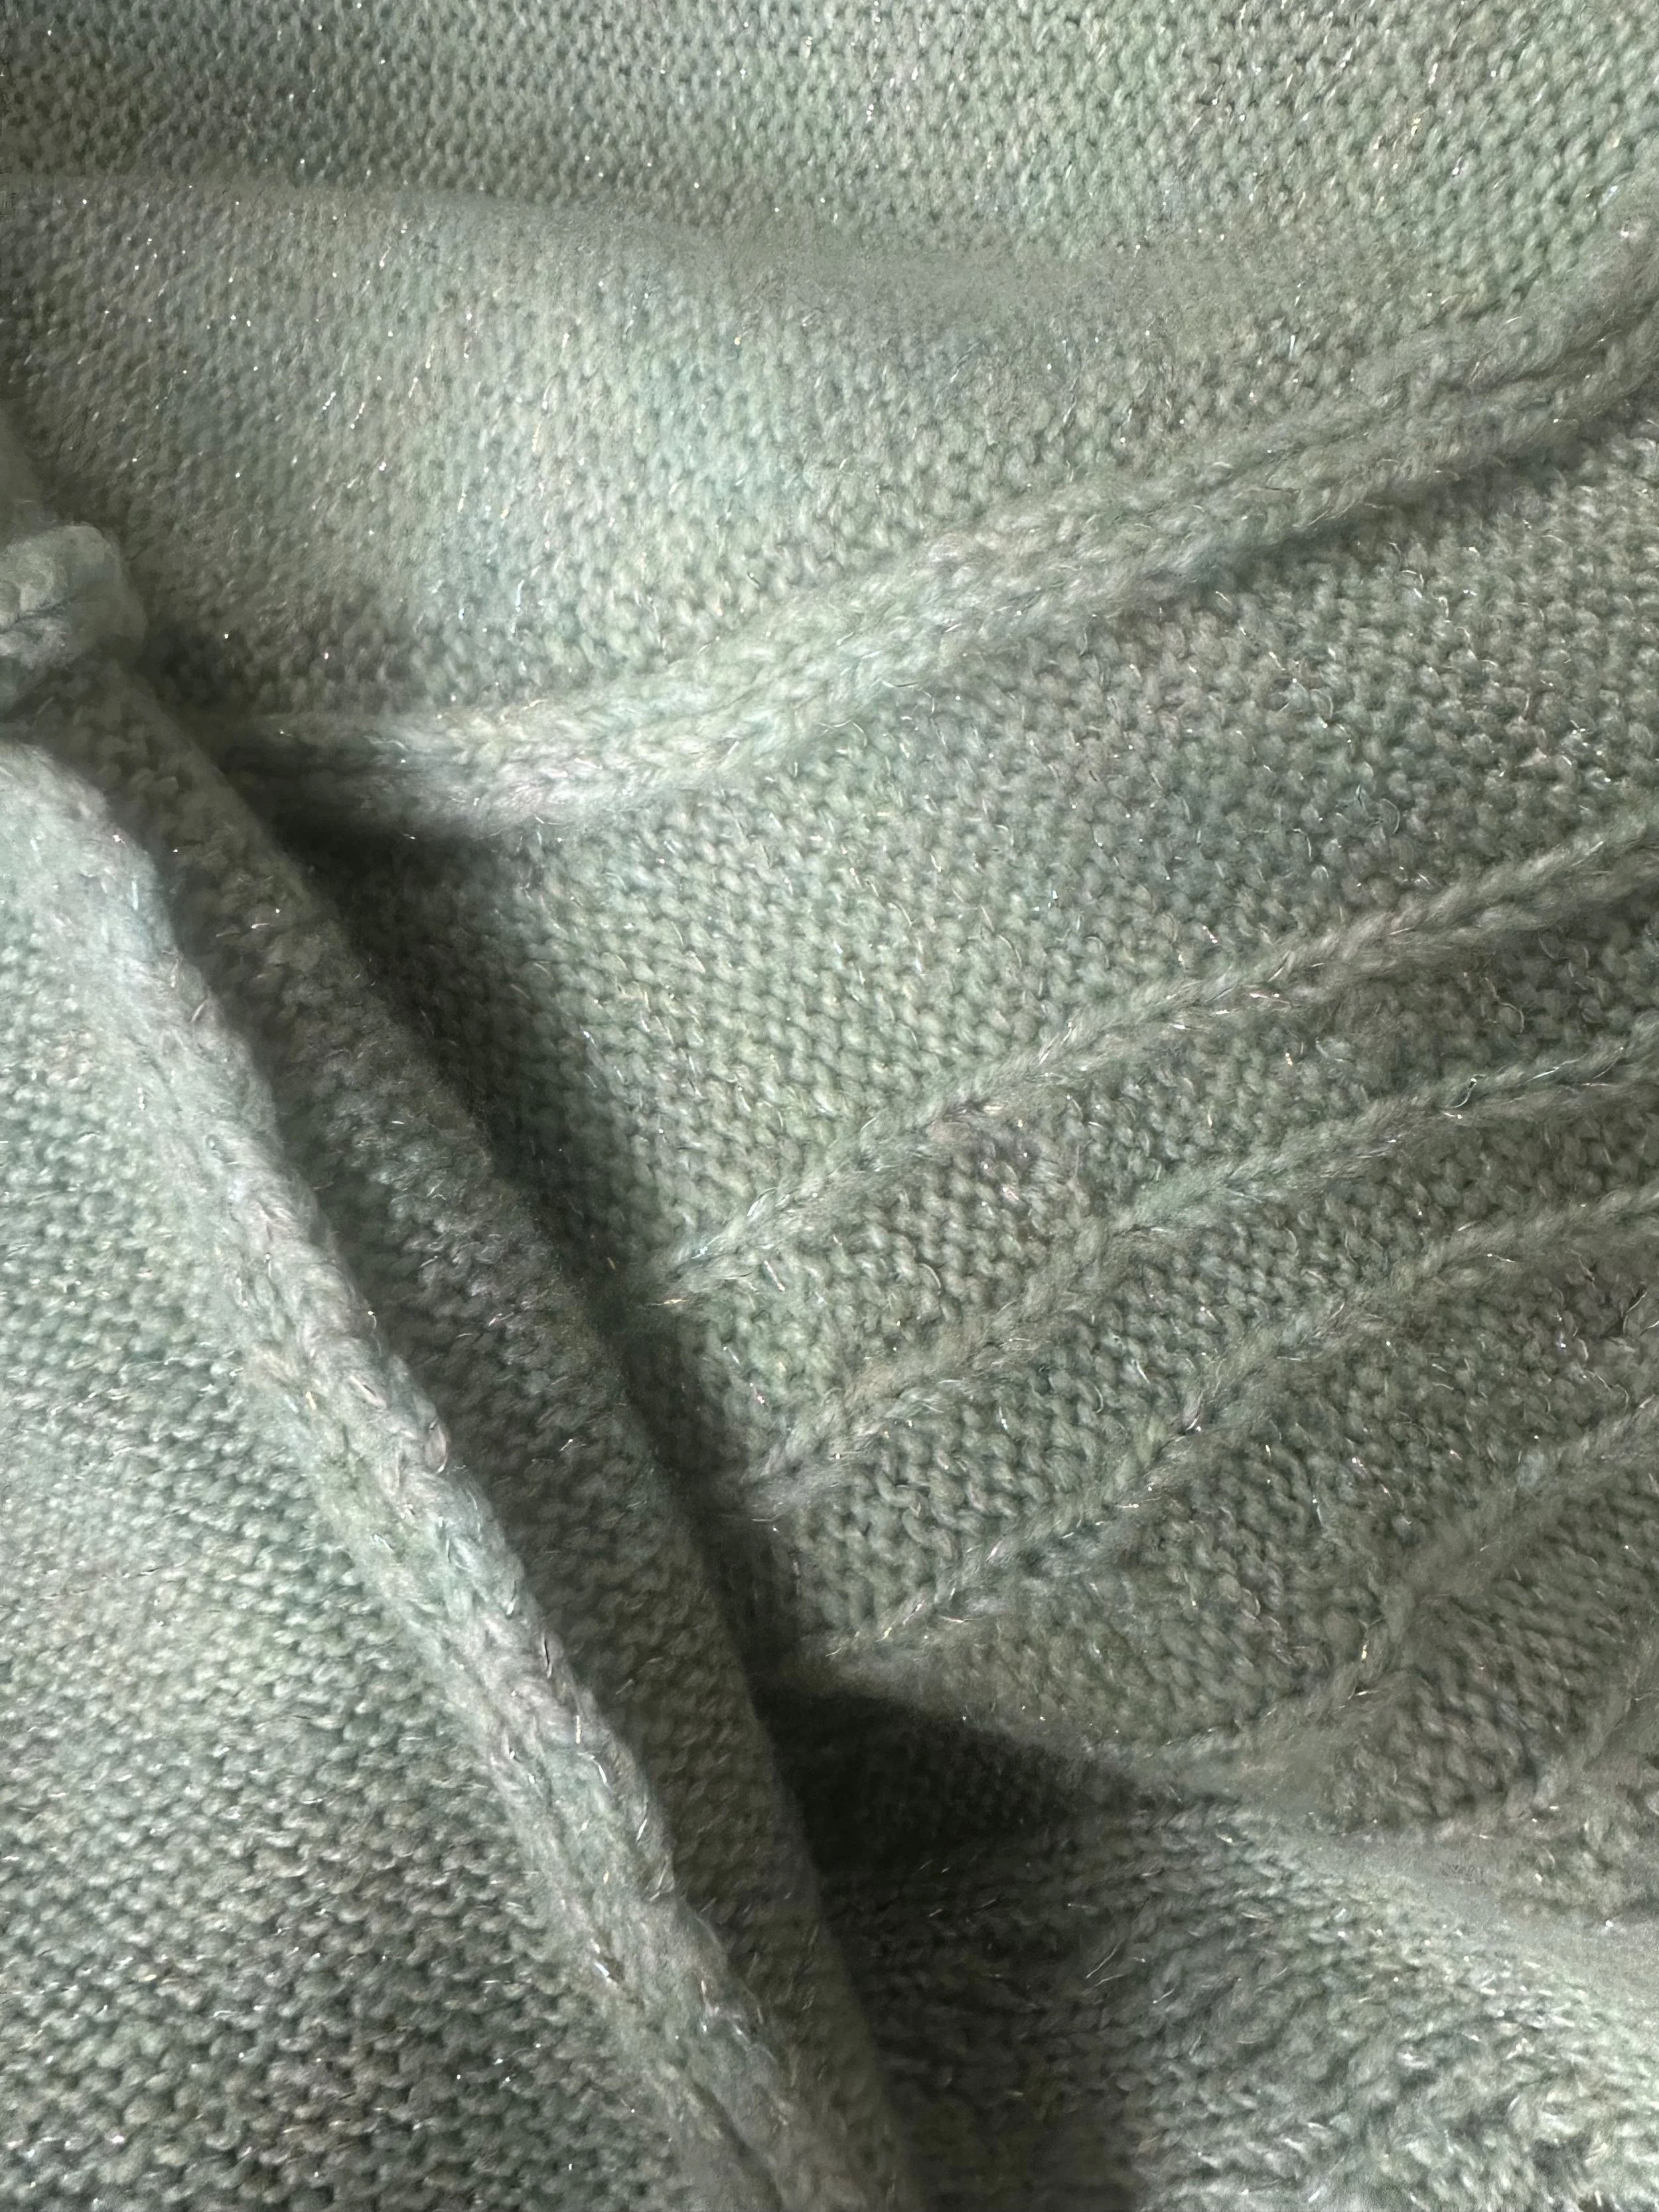
I've got a confession to make - I've got a couple of sweaters from sample sales, and there's one in particular, a sparkly green number, that I adore, especially during the holidays. The issue? It's too big and falling back on me. It’s not balanced.
Now, as a technical designer currently between jobs, I thought, why not unravel and reknit it to get the perfect fit? I typically work with woven and cut-and-sew designs, but my knitting adventures have been more about the process than the fit. I just wanted to knit for the sheer joy of it!
It’s a mad obsession this yarn addiction can be. My apartment in Downtown St. Pete, FL, could easily double as a yarn store. I even saved a trunk of yarn for my move to NYC. Unfortunately, this past summer, my yarn stash faced an unexpected flood due to a plumber's mishap.
But fear not! January brings a new project. With a desire to knit and no yarn, I'm embarking on transforming that oversized green sweater into a perfectly fitted masterpiece.
Choose Your Sweater Wisely
Before diving into the unraveling process, select a sweater that's either too large, out of style, or in need of a fresh start. Ensure the yarn is in good condition, as this will be the foundation of your future projects.
Look for seams that are sewn with a chain stitch and not merrowed off as in the second photo.

Gather Your Tools
Equip yourself with the necessary tools: a seam ripper, scissors, and a yarn winder. These essentials will make the unraveling process smoother and more efficient.


I wish I had this or a similar one.
Locate the Seams
Carefully examine the sweater to identify seams and stitched areas. Use the seam ripper to delicately undo stitches, starting from the bottom and working your way up. Take your time to avoid damaging the yarn. The chain stitch started at the cuffs for this sweater. Once I broke the seam, it unraveled seamlessly (pun intended)

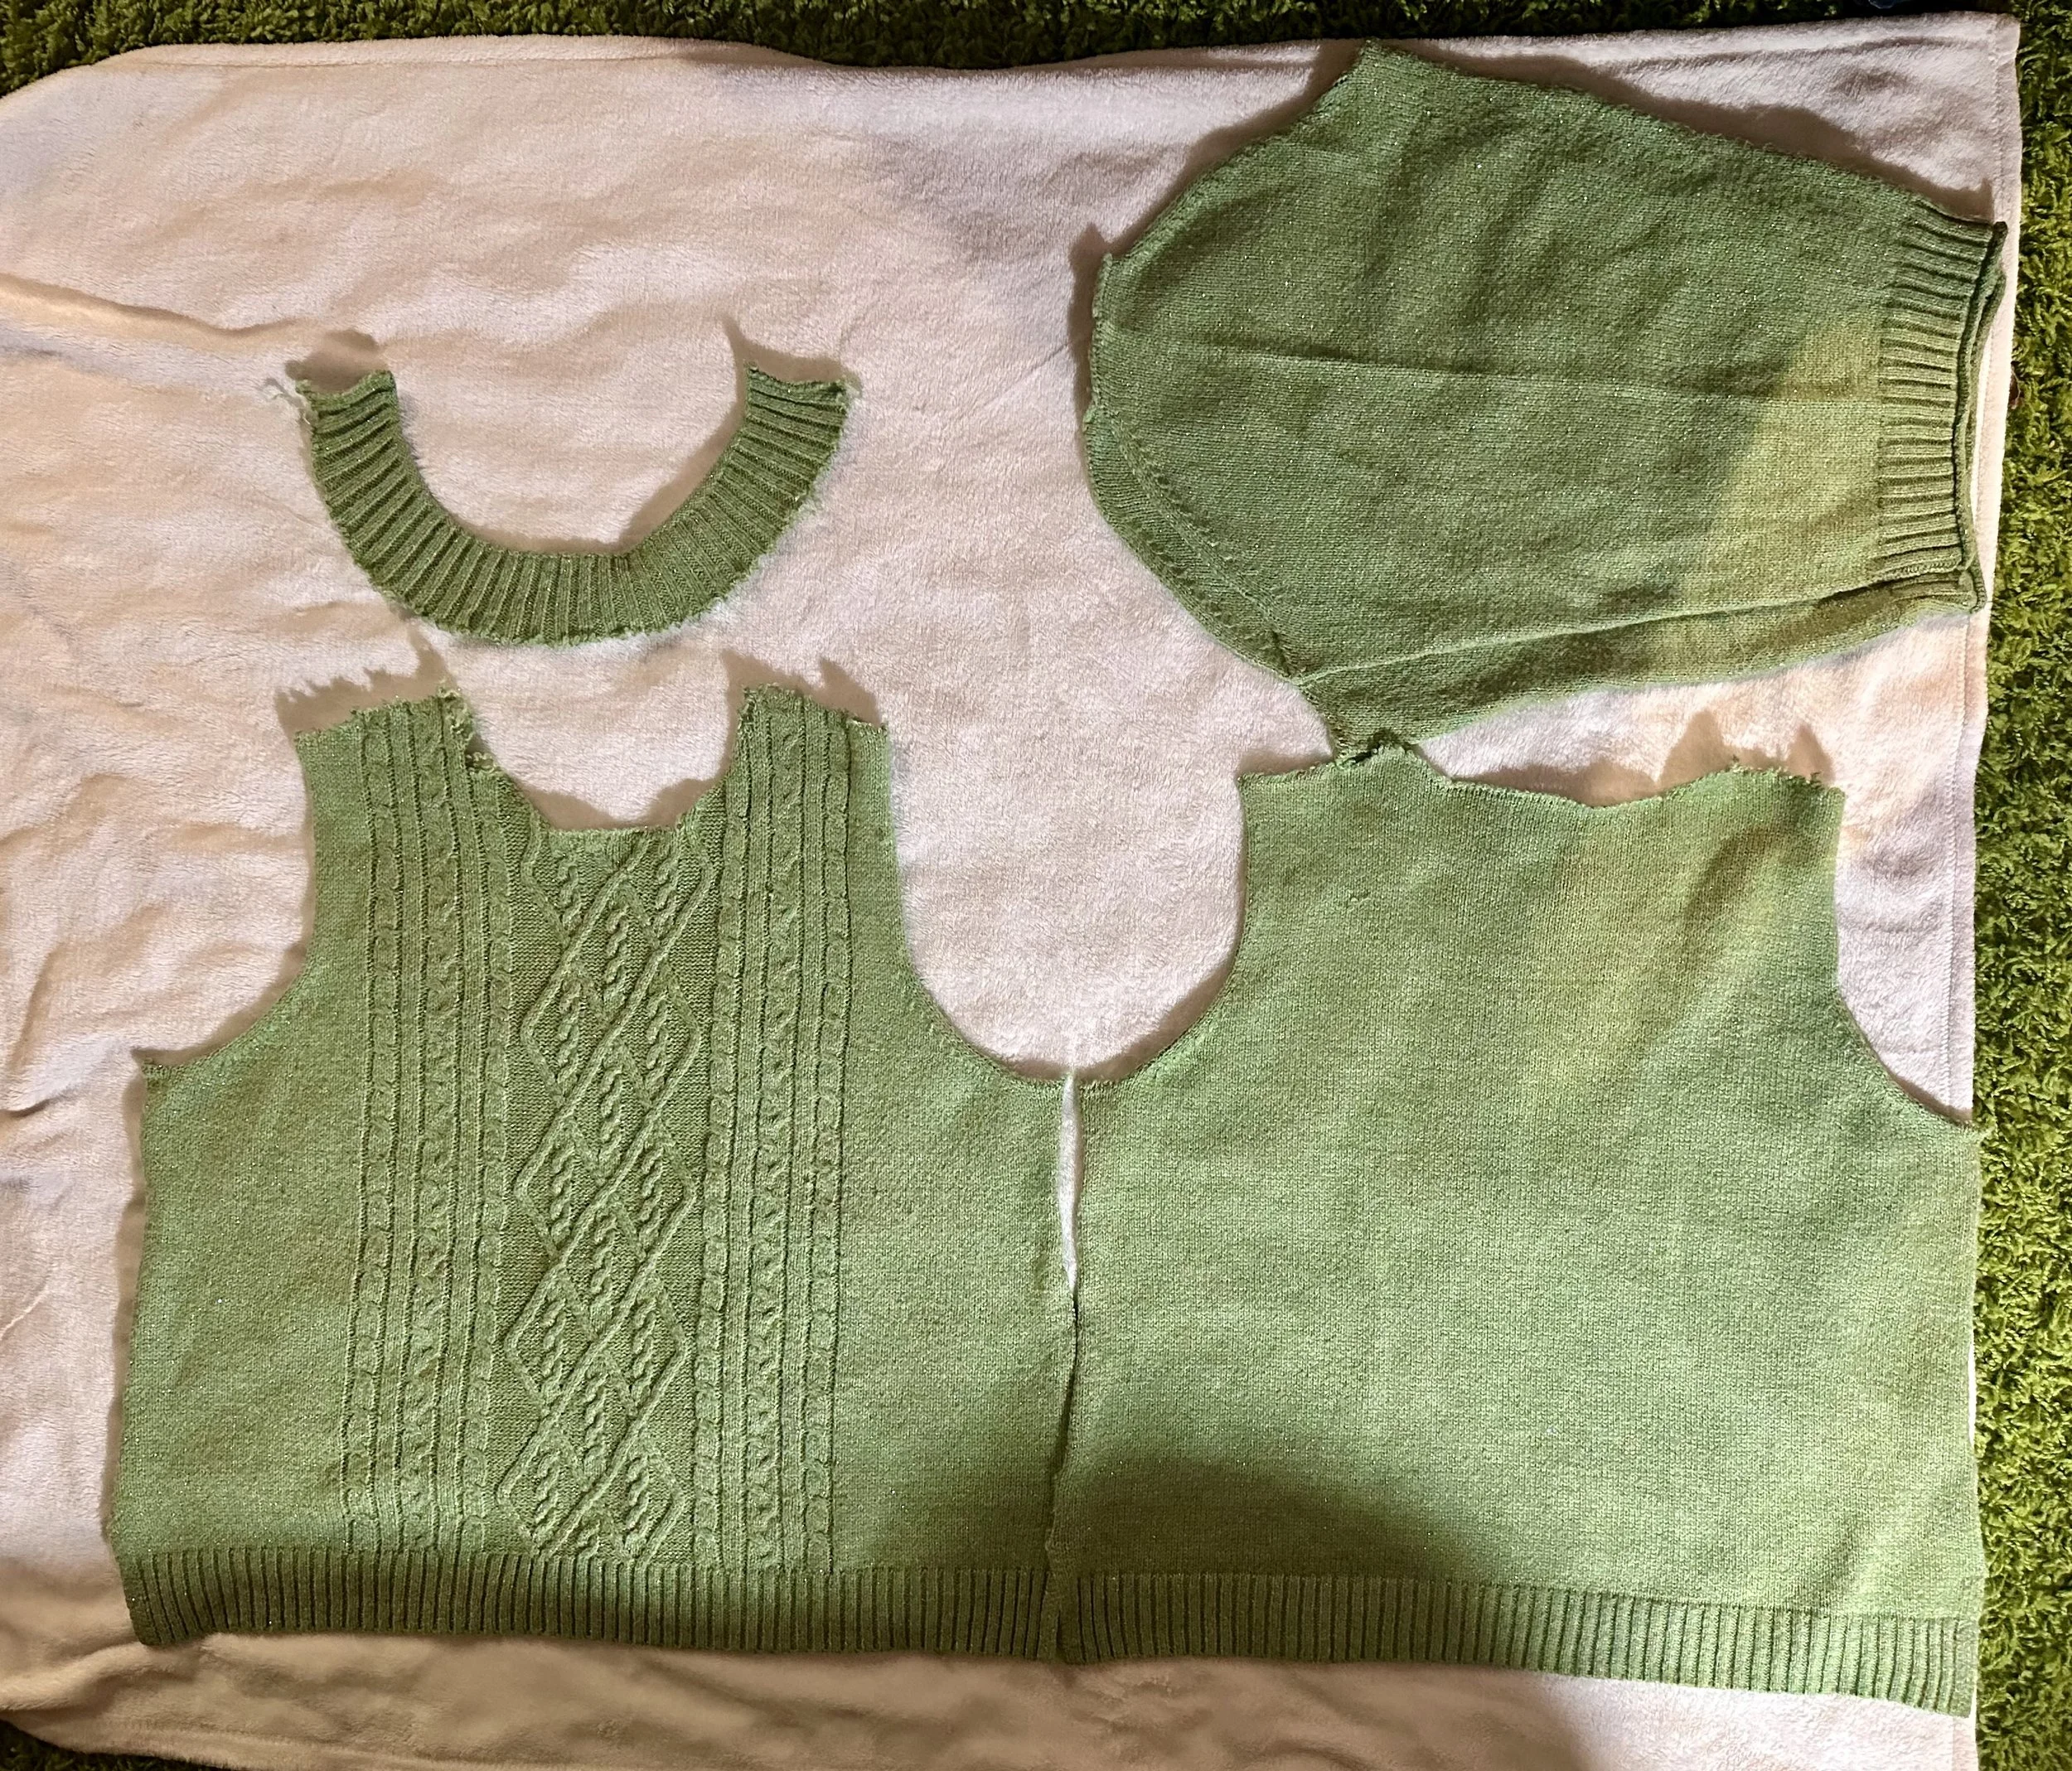
To unravel the pieces, start at the top. While it might not be evident in the photos, each piece has a small loop at the top that you can pull, initiating the unraveling process.
Wind the Yarn part 1
As you unravel, wind the yarn between your thumb and index finger, wrapping it around your elbow. This is the method I used, and when it came time for steaming, I wished I had a swift. Instead, I had to wind the yarn around the top of two chairs. Utilizing the top of the chairs or a swift, secure the yarn at four points: north, west, south, and east.

You can also position the chair backs to face each other. I didn’t have room to do that and did it this way. Please excuse my commuter bag in the photo.
Clean the yarn
Next, I filled a large pot with cold water and detergent, soaking the yarn for about 7-10 minutes. Afterward, I rinsed it in a water and vinegar solution, gently ringing out the excess water. Finally, I hung it to dry, using weights to help straighten out the yarn.

I know I couldn’t believe I couldn’t hang the yarn in the inside of the shower too.
steaming
After the yarn dried, it didn't straighten at all. So, I decided to test if steaming could help. I found that it worked, but I had to be quick. Unfortunately, I took too long on one side, and the metallic threads shriveled up irregularly. Check your fiber content before steaming. If your yarn is more sensitive to heat, try using an iron with a sheet of fabric between the yarn and the iron.

ball winder
I used the ball winder mentioned in the tool section above to create this yarn cake. Once again, I wished I had a swift; it would have made the process much easier.

Once you've unraveled the entire sweater, store your salvaged yarn in a clean and dry place. Consider using a reusable bag or a dedicated storage container to protect it from dust and pests.
conclusion
Congratulations, you've successfully unraveled a sweater, unlocking a world of creative possibilities! From here, the yarn is ready to be transformed into a myriad of projects, from cozy scarves to stylish accessories. Embrace the art of unraveling as a sustainable and inventive way to breathe new life into your wardrobe.
Whether you're a seasoned crafter or a DIY enthusiast, the act of unraveling a sweater transcends the mundane—it's a celebration of renewal, creativity, and the potential for something entirely new.
In the upcoming segment of this series, we'll explore the process of creating a personalized sweater pattern tailored to your size. Stay tuned for updates by subscribing to our newsletter.
Happy unraveling and crafting!
Laurie & Bex